Simple Living in Santa Barbara
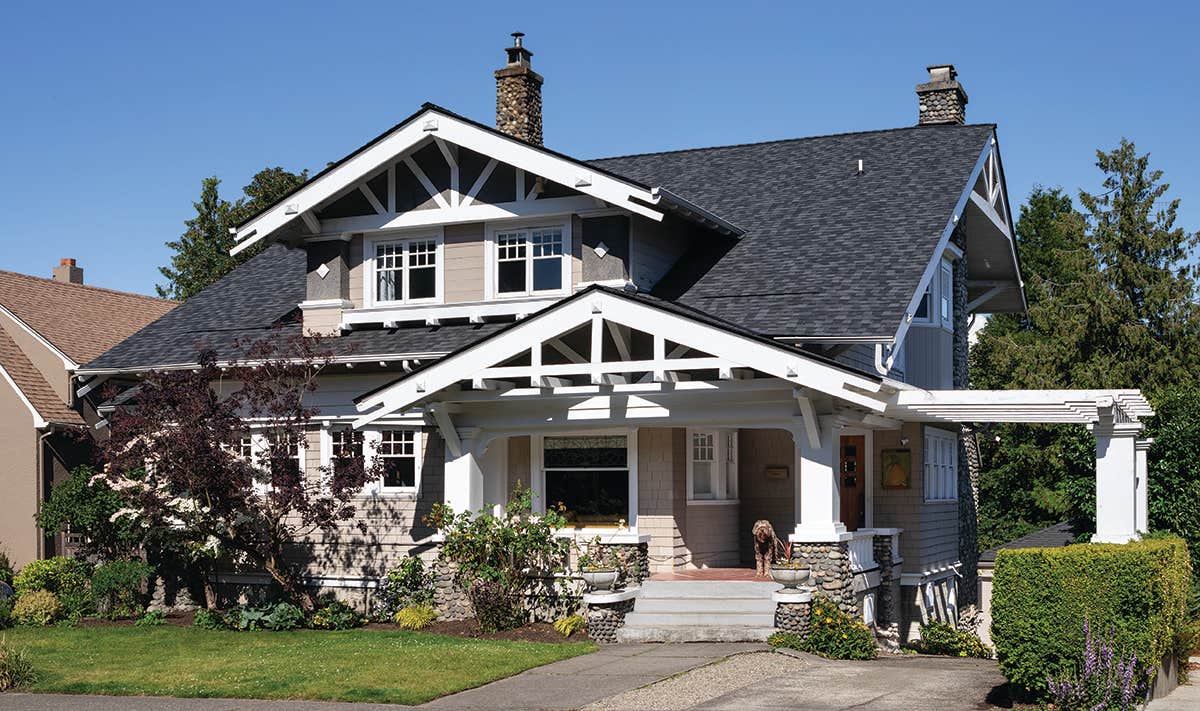
Their house isn’t big, even with an upstairs rear addition. But with a pleasing plan and period details, it has been a charming bungalow home.
These two were looking for a house with potential, and they didn’t mind if it needed work. Brenda McDonald actually grew up in a family of renovators—her parents bought and rehabbed homes for a living. Her husband, Rick, is handy and has an artist’s eye. This early 20th-century bungalow fit the bill: The price was right (yes, it needed work), the floor plan open and welcoming. The backyard was big enough to house a nursery for Rick’s house-plant business. The neighborhood was safe and pretty, and the house—given some TLC—would have curb appeal.
It was hardly pristine back in 1994. A car was parked on the lawn surrounded by weeds. The house, then a discordant tan with blue trim, hadn’t been painted in decades. Wiring, plumbing (all the way out to the sewer line), and roofing needed replacement. Previous owners had painted the fireplace bricks a murky green, and they’d installed Plexiglas panels over the windows in the airless kitchen. The walls and original fir woodwork throughout the house had been “freshened for market” with a thick coat of glossy white paint.
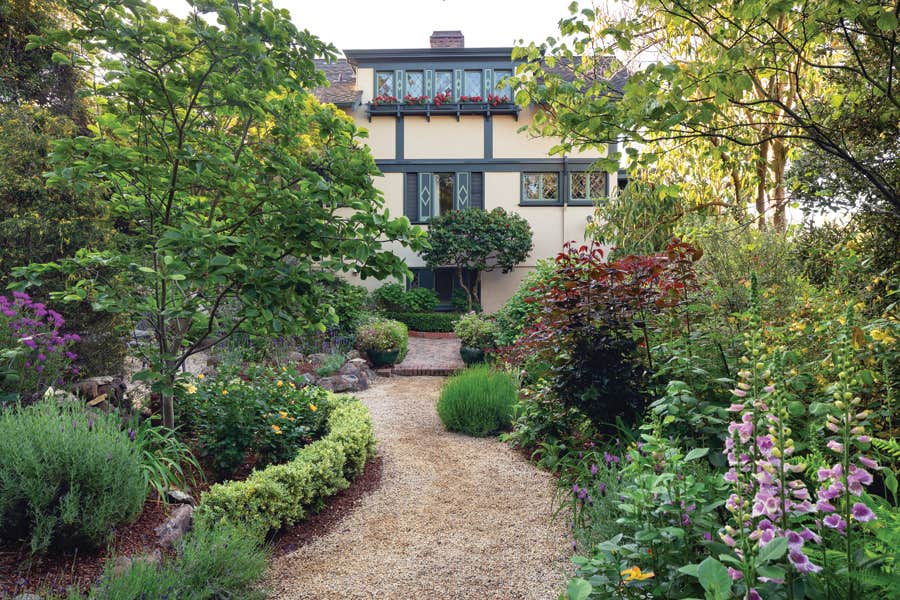
Brenda and Rick got to work. They wisely began with the roof, ripping off multiple layers and reroofing with quality composition shingles in cedar red. Scrapings revealed the original color scheme had been green and cream. Based on that, the couple selected colors: Glidden ‘Hosta Green’ on the first storey, the lighter ‘Zen Green’ on the second, with trim done in soft ‘Dunmore Cream’. River-rock piers were added to porch posts for more presence at the entry.
Every weekend for months, the couple patiently stripped the painted woodwork in the living and dining rooms. The fir was lightly stained and protected with Polycoat sealer. The dining room was given a period sensibility with wainscoting (painted in Valspar ‘Elk Horn Cactus’ green) topped with a plate rail. Above it in the frieze, a stylized rose stencil was painted in a garden-fresh palette of yellow, pale orange, and green. Ghost marks in the flooring revealed that an 18" built-in buffet had once sat beneath the windows; they found a quarter-sawn oak replacement to match the original outline. A pool-table light was replaced with a more period-appropriate, antique brass dual pendant fixture from Rejuvenation.
The previous owners had awkwardly remodeled the kitchen with dark-stained oak cabinets, a faux-brick vinyl floor, and somber grey tiled counters. To keep costs down, Brenda and Rick kept the cabinets but refreshed them with a coat of ‘Devonshire Cream’ (Sears paint), and installed basic white porcelain Amerock knobs.
The Plexi panels and weatherbeaten windows were removed, replaced with Milgard double-glazed casements. Countertop tiles in butterscotch yellow completed the kitchen’s sympathetic update, complete with new plumbing and electrical service. A breakfast nook already had been created from a former laundry at the far end of the room. Now it has a plate rail displaying Brenda’s collection of hand-painted Italian plates.
As the family grew, the two-bedroom bungalow felt increasingly cramped, so a second-floor addition with a loft master bedroom and bath was added to the rear in 2001. The addition was designed to carefully complement the original lines of the façade and gables. Brenda and Rick admit it took two tries to get it right: Initially, they installed MDF plywood trim, painted white, and carpeted the floors. But as their knowledge of Arts & Crafts design evolved they realized their mistakes. A decade later, they upgraded the wood trim with flat-grain fir, matching that in the old house. They hung solid wood doors with period knobs, and laid white-oak flooring. It was worth sleeping in the dining room for a month.
The Fireplace Bricks
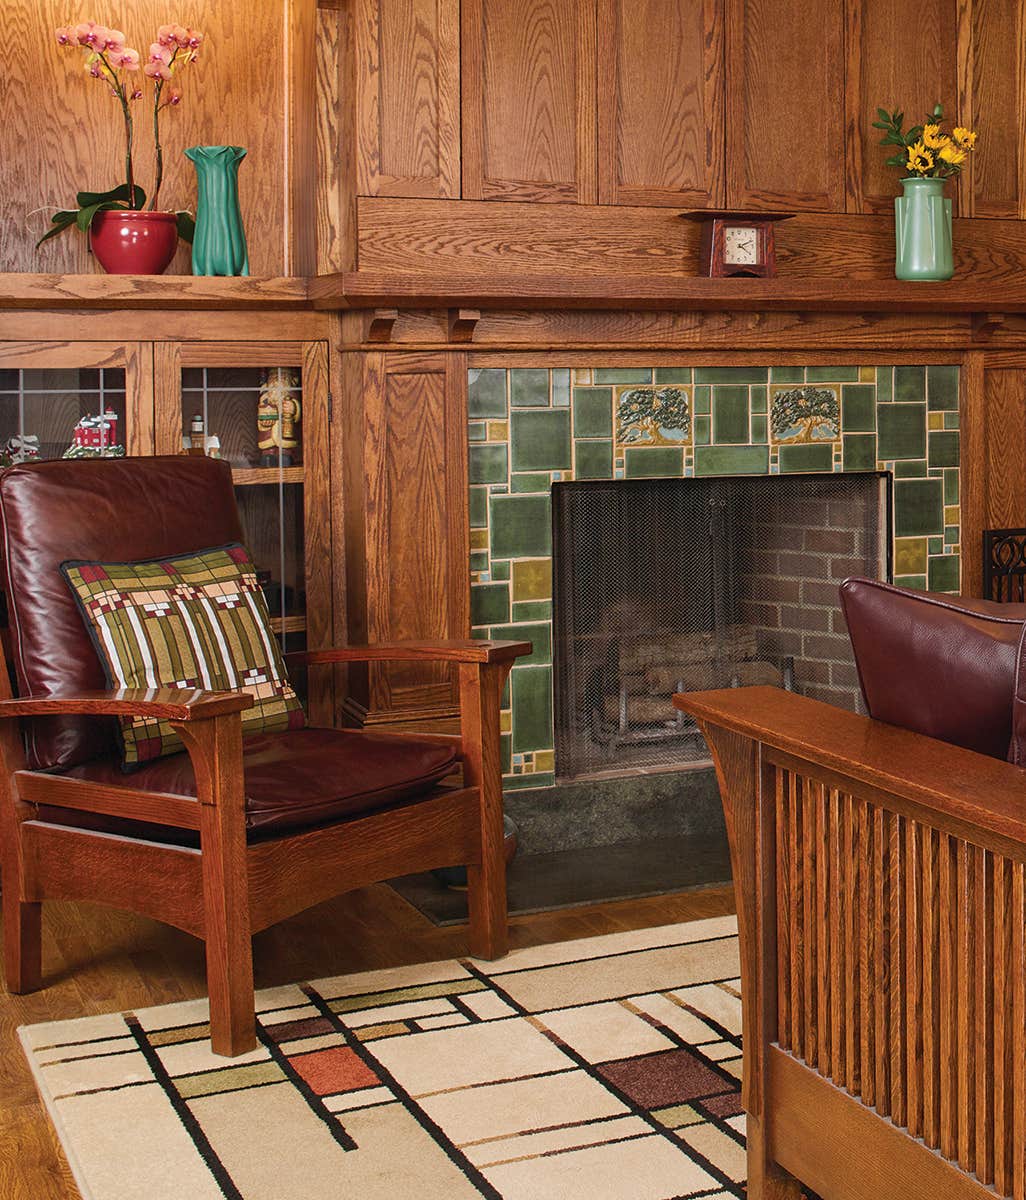
Rick McDonald’s artistic talents show in the resurrection of the living-room fireplace. “A lot of original brick fireplaces have been painted over,” he says. “Stripping and repainting is tedious, but if you do it methodically, it’s a manageable project and not expensive.” In his words: I stripped all the paint off the yellow bricks with a propane torch, using putty knives to remove the loosened paint. (I used fans in the windows and still wore a respirator.) Paint on the wood was removed with Jasco Premium Paint Stripper, following their directions.I used a wire brush to remove any remaining bits of paint from brick.
Inspired by multi-colored clinker bricks I’ve seen in period homes, I devised a scheme for our bricks. I applied new paint with a sponge brush to each brick, then carefully wiped off extra color with a lint-free rag. I then repainted grout lines with a lining brush. After the paint dried, I used Minwax’s clear satin Polycrylic Protective finish, lightly tinted with ‘Liberty Blue’ to cool and even-out the different tones of the newly painted brick.
Brian D. Coleman, M.D., is the West Coast editor for Arts & Crafts Homes and Old House Journal magazines, our foremost scout and stylist, and has authored over 20 books on home design.

