Low Key Floors
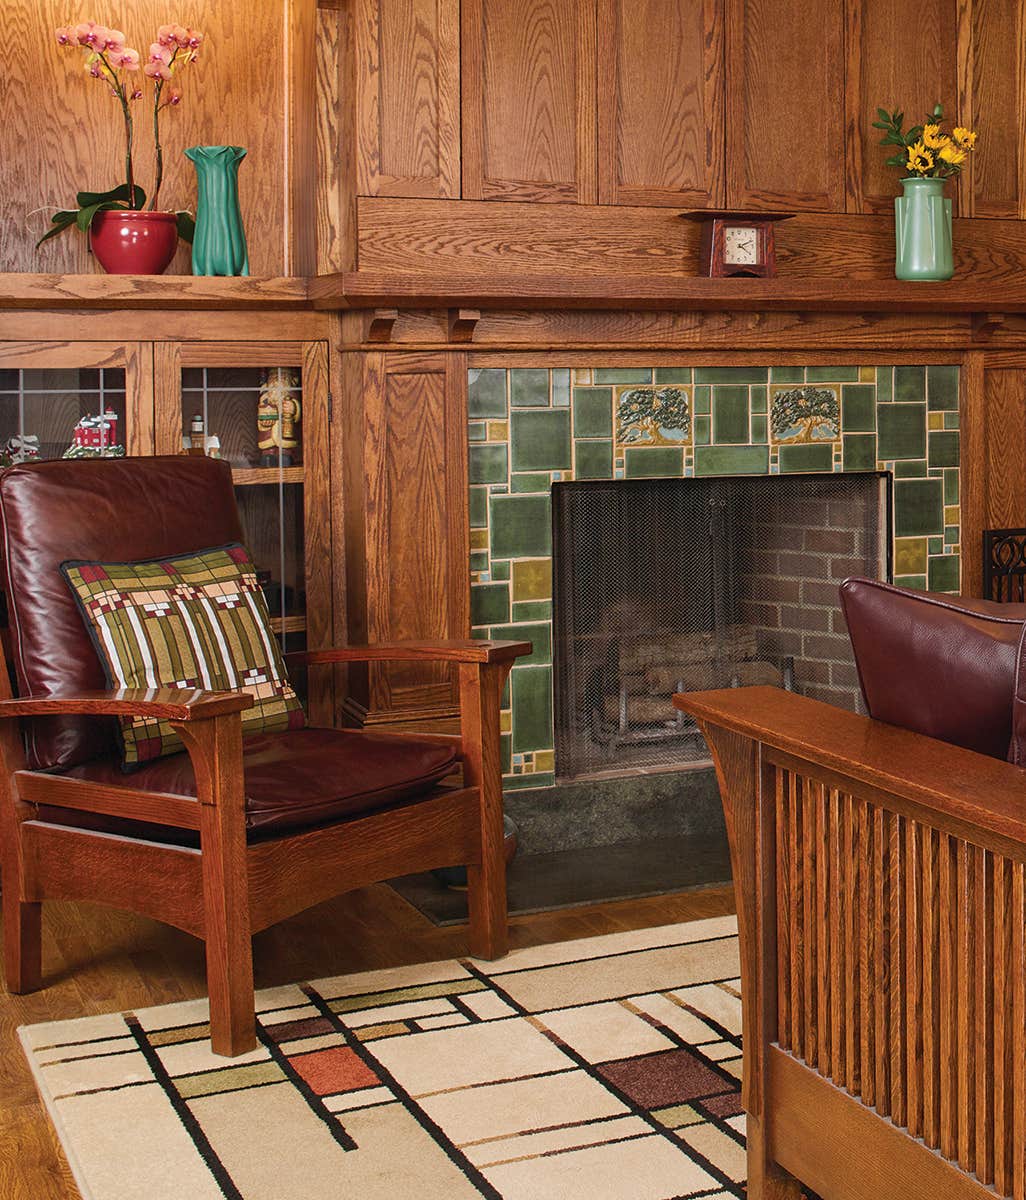
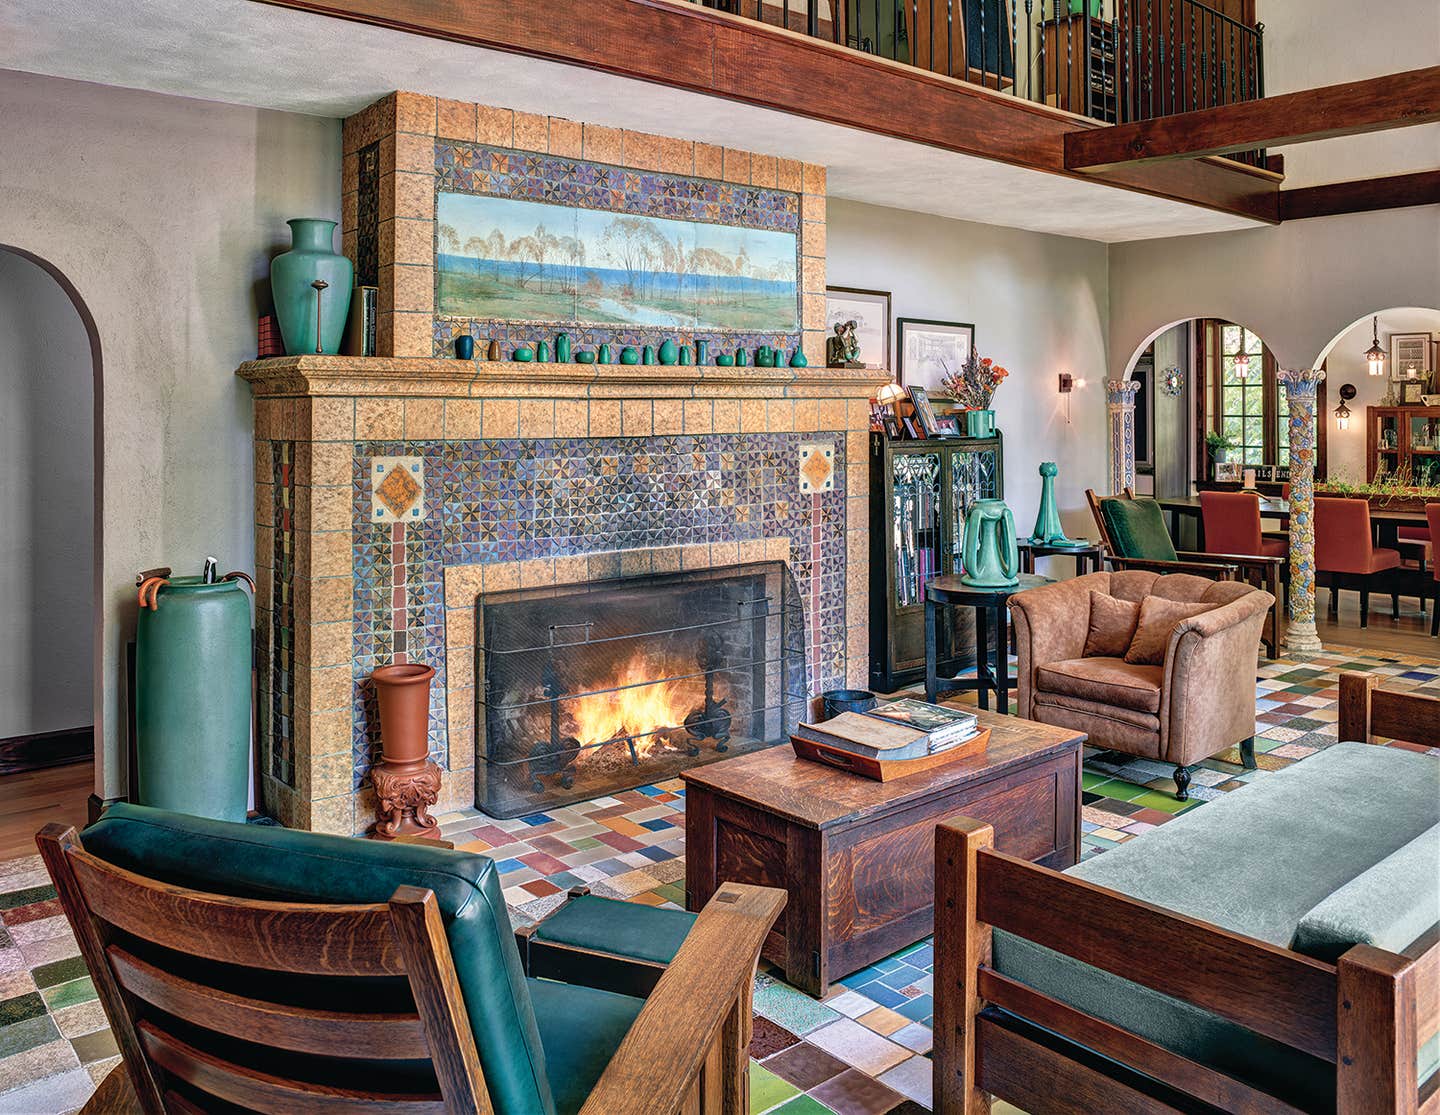
Matte rather than shiny, mellow rather than bright, wood floors in Arts & Crafts-era homes often fade into the woodwork.
Gustav Stickley himself decreed that such avant-garde techniques as fuming with ammonia as well as strong grey-green or black stains were out of place on an Arts & Crafts floor. Floors, he said, should be conventionally finished—meaning multiple coats of oil-based varnish—until the surface was “entirely smooth and nonabsorbent.”
As for color, a medium tone somewhere between dark honey and light coffee was the preference during the first decades of the 20th century. Achieving the desired degree of smooth, mellow brown was a simple matter for a flooring professional back in the day, but it’s more challenging for modern do-it-yourselfers.
For starters, different woods take stain differently. While many Arts & Crafts floors in formal rooms like parlors and dining rooms are oak (a hardwood), others are fir or pine (softwoods). Softwoods take stain more readily but tend to have an uneven grain and in some cases will stain unevenly, resulting in patterns or blotches.
Hardwoods, especially those cut to reveal fine or dense grain, such as quartersawn oak, may need multiple coats of stain to reach the same depth of color that’s achieved with one or two coats on a softwood like Eastern fir.
For that reason, test a small, hidden area first. Not sure which stain will produce the color you want? Do a trial of different stains or stain combinations on sample boards that closely match the existing floor.
Stirred, not shaken
Unlike paint, stain should be thoroughly stirred before it’s applied, advise the folks at Minwax. Shaking adds unwanted bubbles, and also doesn’t guarantee that all the ingredients are mixed. Stir until all the sediment is evenly dispersed.
Staining in Seven Steps
- Prepare the flooring to accept the stain. If the floors are in rough condition, you may need to make two or even three passes with a sander, using progressively finer grit sandpaper, in order to end up with a smooth, stain-ready surface. Floors in good condition may need only a single scuffing with 220-grit sandpaper—just be sure you’ve removed any evidence of wax.
- Clean the floor. Vacuum the floor thoroughly and wipe down just as thoroughly with tack cloths, changing them as they become coated with dust or debris.
- Dampen the floor with a new wet mop, working from one side of the room to the other. Adding water to the wood raises the grain which makes it easier for the wood to absorb the stain, but don’t allow pools of water to form on the wood. Wring out the mop frequently.
- If you are working with a softwood like fir, or suspect the finish might be irregular, apply a pre-stain wood conditioner before staining. Sold under several brands, these conditioners reduce the likelihood of blotchiness.
- Apply the stain liberally, using a sponge or rag, working with the grain. Again, work from one side of the floor to the other. For the most consistent look, try to apply the same amount of stain to each board. After applying, allow about 5 to 10 minutes resting time, then wipe off any excess stain so that the color penetrates evenly.
- Allow the stained wood to dry fully—at least overnight. If it’s not fully dry before finishing, it can smear or smudge when disturbed.
- Apply the top coat, which can be water- or oil-based polyurethane, tung oil, or a natural finish.
Topcoats and Finishes
Whether stained or left natural, every Arts & Crafts floor needs a good topcoat (or at least a few coats of floor wax). Finishes are usually blends of natural plant-or nut-based resins or oils suspended in or mixed with oil, alcohol, solvents, or water, which cure to a hardened finish.
Polyurethane finishes are the easiest to apply, especially if they’re water-based. Water-based polys require multiple coats (with sanding in between) for durability, but dry quickly—usually in hours rather than days. These water-based finishes dry clear and visually “float” on the surface, lacking some of the depth of oil-based polys and more traditional treatments like tung oil. While they go on easily, refinishing a water- or oil-based polyurethane requires sanding the old finish before applying a new coat.
Oil-modified polyurethanes are compositionally similar to water-based polys, except that the resins are impregnated with oil. Drying times are much longer; allow at least 24 hours between coats. Oil-based polys cure to a deep, durable, and abrasion resistant finish with a slight amber color that approximates period varnish. While water-based polys clean up with soap and water, oil-based ones require solvents to clean hands and brushes.
Tung oil and polymerized tung oils penetrate rather than float on the surface of the wood. Like oil-modified urethanes, tung oils require longer drying times between coats, but they produce a true period appearance: Waterlox’s Original Sealer and Finish, for example, has been on the market since 1910. While polymerized tung oils dry faster than pure ones, a tung-oiled floor usually takes 30 days or more to fully cure and should be treated carefully for the first few months.
Best of all, tung oil and low-VOC finishes made from natural proteins can also be refreshed with new coats without stripping. No sanding is required between coats, either. Note: Nut allergies may be triggered by tung oil during application and curing.
Mary Ellen Polson is a creative content editor and technical writer with over 20 years experience producing heavily illustrated know how and service journalism articles, full-length books, product copy, tips, Q&As, etc., on home renovation, design, and outdoor spaces.
