The Arts & Crafts Ceiling
The Arts & Crafts ceiling is the largest and least obstructed plane in the room, and it establishes a unique look for the entire room. Start there for the best results.
Most decorators say you should start with the rug, working upwards to coordinate wall color and furnishings. I, on the other hand, prefer to do the opposite. The Arts & Crafts ceiling is the largest and least obstructed plane in the room, and it establishes a look. It can be narrow beadboard in a country cabin or a stenciled and papered treatment for a Craftsman home in the city. Once the ceiling is in place, I find it easier to tackle the rest.
Don’t think that all ceilings were plain plaster by this period. Public rooms often had beams—stenciled or with the edge chamfers picked out in color. Spaces between beams might be treated with soft color, a burlap paper, or a border stencil. In other rooms, the ceiling treatment played off the frieze, picking up its colors or repeating a motif. Shellacked and painted beadboard, texture and sand finishes, and ceiling papers were not uncommon:
Beamed ceilings
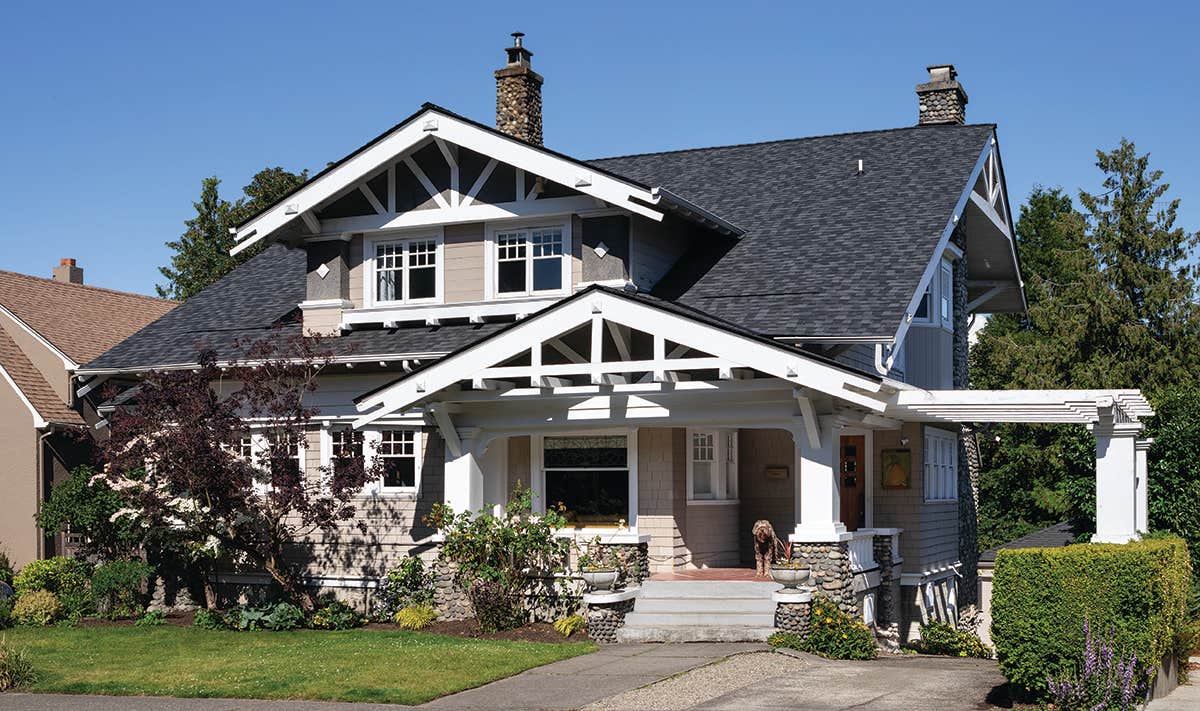
Public rooms in early-20th-century homes were given the most attention, as these were the rooms visitors would see. Handsome wooden box beams, most of them merely decorative, were often laid across dining room and living room ceilings, adding coziness and dimension and, often, a plan for ceiling lighting. Inset with gilded burlap or perhaps a simple stencil of stylized roses or ginkgo leaves, these ceilings suggested structure and craftsmanship.
Some of us are fortunate to have homes with original box beams intact, but for the rest, modern technology makes it easy and affordable to get the benefits. ACP’s Evoba Wood Ceilings has a straightforward solution with their systems made of grids of wooden panels and beams (available in nearly any finish to match existing woodwork). These can be surface mounted or attached directly to joists or an existing ceiling surface using beam clips, or suspension-mounted using a hanger wire system.
FauxWoodBeams.com can help you make your own box beams. They supply faux-grained, high-density polyurethane beams as well as the real McCoy: wooden box beams made of reclaimed lumber.
Painted ceilings
Stenciling is a time-honored way of decorating the space between the box beams, says Amy Miller of Trimbelle River Studio and Design. Typically a rectangle or large panel is left between crossing beams. The outer edge of the panel (4 to 9 inches) might be shadowed in a slightly darker color from the rest of the field. A stencil pattern might appear either in the light center, or in the darker portion near the beam. Also, a medallion was often painted around the ceiling fixture.
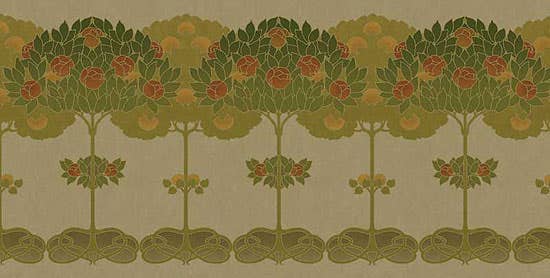
For rooms without beams, one large center panel was created by application of a stencil motif around the periphery of the room. Designs were usually stylized motifs based on nature: irises, a Glasgow rose, oak leaves and acorns, or perhaps dragonflies. Colors were often dusty, outdoors hues: the blue-greys and browns of fieldstone, summer-squash yellow or zucchini green. Dining rooms had the most elaborate stencils. Miller explains the ceiling design was frequently based on an architectural element in the room and carried over from frieze and wall patterns.
Papered ceilings
While elaborately wallpapered ceilings reached their peak during the Victorian era, many Arts & Crafts homes had papered friezes and even ceilings well into the 20th century. Designs were simpler or more subdued, says Robert Kiefaber of Aesthetic Interiors. Wide friezes (9 to 22 inches deep) could be found in many homes until the 1920s, and idyllic landscapes of meandering streams or columns of Art Nouveau artichokes lined the room. Complementary ceiling fill papers were common, light in tone and favoring “natural” hues, such as organic limestone and sand colors accented with eggplant purple, earthy amber, and a gentle olive green.
A good rule of thumb for calculating the number of rolls of ceiling paper you will need is to multiple the length of the ceiling by its width, then divide by 30 (rounding up). If you have steady hands and a strong relationship with your spouse or partner, you can save money installing ceiling paper yourself. Go to Bradbury and Bradbury’s Installation Tips here.
Metal ceilings First made after the Civil War to cover cracked plaster, “tin ceilings” have never really gone out of style, remaining an easy ceiling treatment that got a boost in popularity during the Victorian Revival of the 1980s. Embossed metal ceilings were at their peak of use during the ’teens and early ’twenties, the bungalow period. Most often found in service areas, tin ceilings were common in kitchens and pantries, downstairs halls and sometimes bathrooms. W.F. Norman has been producing stamped metal ceilings since 1898 and still makes most of their original designs and patterns. There are 150 components to choose from—field pattern, molding, filler, and cornice—so most projects today are individually designed. Metal ceilings are straightforward to install, either nailed directly to a thin layer of plywood sheathing or applied to a grid of wood furring strips. You can choose not only the familiar tin-plated steel (which must be primed and painted), but also solid brass and copper, and also galvanized steel, all of which can be painted and finished for various effects or just clear-coated for a more industrial appeal.
If you like the look of vintage ceiling tiles, but installation would be difficult, consider panels from a company called Ceilume. These are 0.03-inch vinyl tiles in classic patterns, and nearly indistinguishable from tin. They are easily glued or stapled to an existing ceiling to be finished in any color or stain. This is a good solution for problem areas and low ceilings such as in a basement.
Beaded-board ceilings
This cottage favorite started out as a quick fix of the 19th century—an inexpensive and easily installed finish for informal rooms like kitchens, for porch ceilings, stables, and train stations. Beadboard (aka tongue-and-groove or car siding) was made from scraps of lumber milled with a thin ridge or tongue on one edge and a corresponding groove on the opposite so that adjoining panels could easily be fit together. Beadboard was very common by the turn of the 20th century, often applied to Bungalow walls and ceilings in kitchens, pantries, bathrooms, and halls as well as outside on porches, garages, and even under the eaves.
Beadboard need not be boring. Nantucket Beadboard, for example, offers a range of profiles from curved coves to V-grooves for variety and interest. It can be applied on the diagonal, or in diagonal quadrants with battens, for more visual interest. Available in both sheets and strips, it’s easy to install. Vintage Woodworks has a helpful calculator here. Depending on the wood species (commonly pine or fir), you may choose to stain and seal, or prime and paint your Arts & Crafts ceiling, or finish it with orange shellac—a wonderful look on fir.
Brian D. Coleman, M.D., is the West Coast editor for Arts & Crafts Homes and Old House Journal magazines, our foremost scout and stylist, and has authored over 20 books on home design.