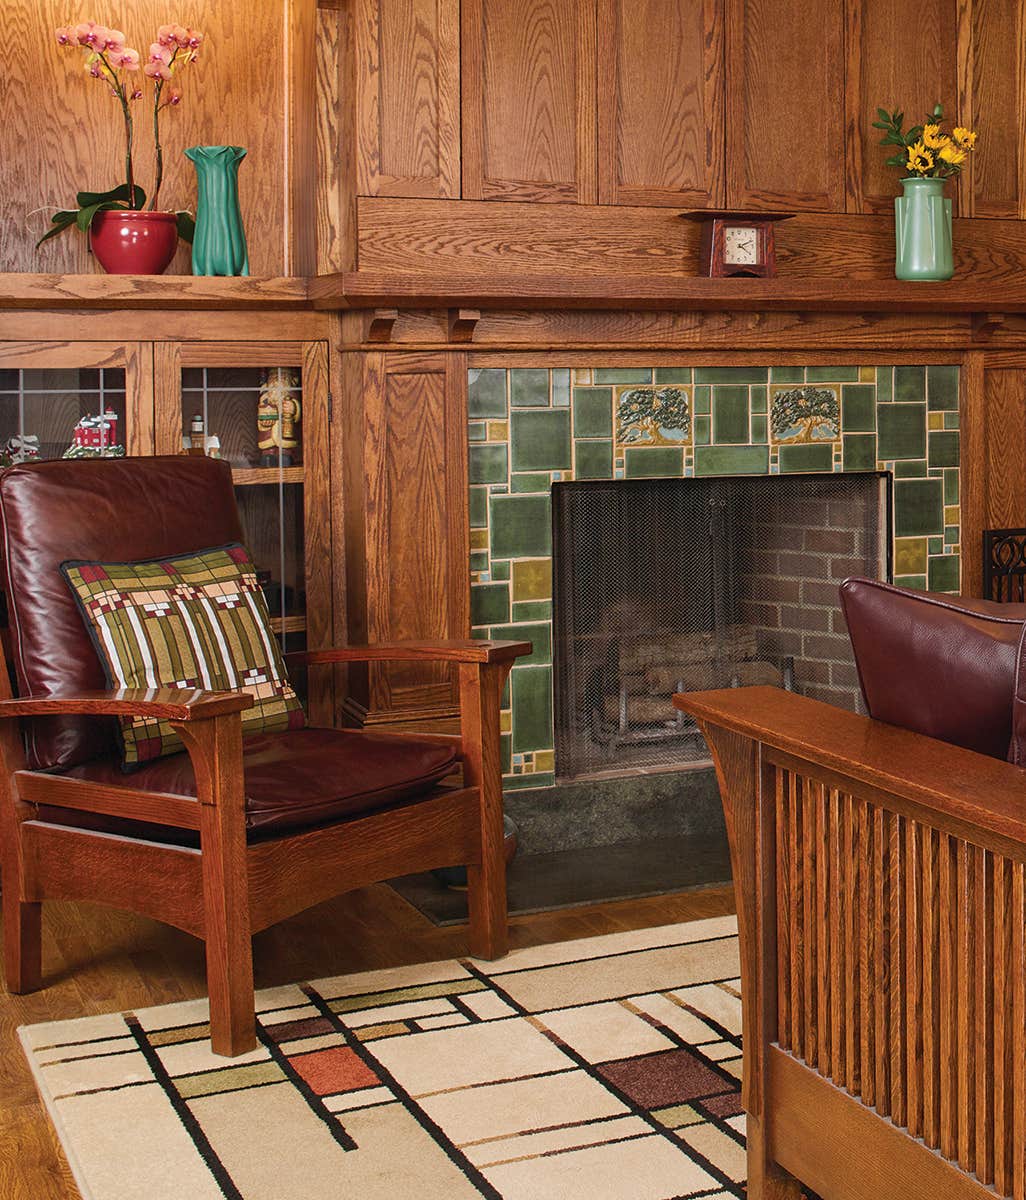


A Mosaic Tile Floor
From penny rounds to hexagons, basketweave to spiral, mosaic tiles lend an early-20th-century signature to any room, whether the foyer or the bath. Laying a new mosaic tile floor can be challenging if you do it yourself, but a few tricks from the past can make any installation a success.
Laying a new mosaic tile floor can be challenging if you do it yourself, but a few tricks from the past can make any installation a success.
First, prepare the surface correctly. Mosaic and most other types of tile cannot be set directly over plywood. New tile should only be set over properly installed cement board or prepared cement. Make sure the surface is as flat and defect free as possible.
Next, dry-lay the design before mixing any mortar. Mosaic tiles usually come in 12" x 12" sheets with mesh backing that lay down quickly. Even a pro, however, will take the time to dry-lay the tile, then stack it in the order it will be installed.
To help set the pattern, snap chalk lines down the width and length of the room so that they cross at your intended focal point. Starting from the center of the room, line up the farthest edge of a dry sheet of tile against the line. (There will be a zigzag edge, but you’ll fill that in with a matching sheet.) Align another tile sheet below it. You want the new sheet to match the seam width of the first sheet, but you also want to hit the chalk line precisely. Keep laying dry sheets until you’ve covered about a quarter or third of the floor. Number the sheets as you place them.
When you get toward the edges of the room, you may have to cut sheets to fit with a wet saw. Don’t worry about small gaps between the edges of the tile sheets and the wall at this point. If you use a half sheet as you reach the end of a wall, use the other half to abut it when starting your next row.
Once you’re confident that the pattern will work, mix up the first batch of mortar. Use one specifically recommended by the tile manufacturer, and mix only as much as you can use in the recommended working time (usually only about 15 to 20 minutes). Try for the consistency of slightly warm cake icing. Never add more water to the mixture if it begins to harden; this will weaken it.
APPLY THINSET
Begin laying the tile. Using your trial run with loose sheets of tile for reference, choose the first tile sheet. Using a notched trowel of the appropriate gauge (1/8" or 3/32", for instance), cover a small section of the substrate with thinset mortar, enough for two side-by-side 12" x 12" sheets, for example. Angle the trowel at a 45-degree angle to score lines in the mortar.
Lay down just enough thinset to capture the tile without pushing out above it. (This may take some practice.) Lay whole sheets in a row against your chalk line, keeping the sheets aligned as you work.
LINE UP TILE
Once the tile is in properly, use a float or tap with a padded wood block to press the tiles lightly and evenly into the mortar. Applying consistent pressure will help avoid lippage, where tile is higher or lower than neighboring tile.
To minimize visible discrepancies between the seams where the tile sheets meet, use spacers (available in 1/8" and 3/32" sizes). Stand up and carefully eyeball the appearance of the tile before the thinset dries. If you can tell where the seam is, you probably need to reset the sheet.
FIT AND CUT
If an obstruction like a toilet flange is in the way, work around it, leaving room for a full sheet of tile. Once the rest of the tile is down, measure the distance from the edge of the nearest tile sheet to the flange at four points (top, bottom, both sides). Transfer these measurements to the sheet you intend to install, and use them to draw a circle on the tile. Pop out any tile inside the circle with a utility knife.
For sections less than a full sheet wide, cut the sheet to fit with a utility knife or wet saw, depending on whether or not the cut will go through tile. In areas less than one tile in width, score the tile on a snap cutter, then clip pieces off with a tile nibbler and lay them in. Once all the tiles are in place, allow the floor to dry for at least 24 hours. Stay off the floor until it’s ready to grout.
THE LAST STEP: GROUT
If you’re using unglazed porcelain tile, apply a grout release to the surface before beginning so that the grout will not penetrate the porous tile. Vacuum up any loose debris from the fully dried floor. Mix a small batch of grout. Sand-based is traditional; the usual formula is 1 part grout to 2 parts water.
Mix the grout to the consistency of loose mayonnaise. Allow 10 minutes to set up. Do NOT add more water if the grout starts to dry, because it will weaken it.
Lay down a thick dollop, enough for about 1' square. Using a float, spread the grout across a small section of floor, carefully working it into the seams between tiles. Once you’ve covered an area of about 3 sq. ft. with grout, allow it to set up for a couple of minutes. Then start removing the excess grout with a large sponge. Wet the sponge and wring it out so it is damp but not dripping. (Avoid adding moisture to the grout lines as you sponge off the excess from the surface.)
Wring out the dirty sponge and clean the water often. Grout usually produces a haze that persists after it has been fully removed and the floor has dried—even after repeated cleanings! Use a grout haze cleaner, available at builder’s supply and tile stores.
Mosaic Tile Sources
Tools, etc.
Marshalltown (trowels)
QEP (grout float)
M-D Building Products (tile nippers)
Mary Ellen Polson is a creative content editor and technical writer with over 20 years experience producing heavily illustrated know how and service journalism articles, full-length books, product copy, tips, Q&As, etc., on home renovation, design, and outdoor spaces.