Arts & Crafts Shingle Patterns
Shingles were laid to create patterns: subtle decoration for Arts & Crafts houses.
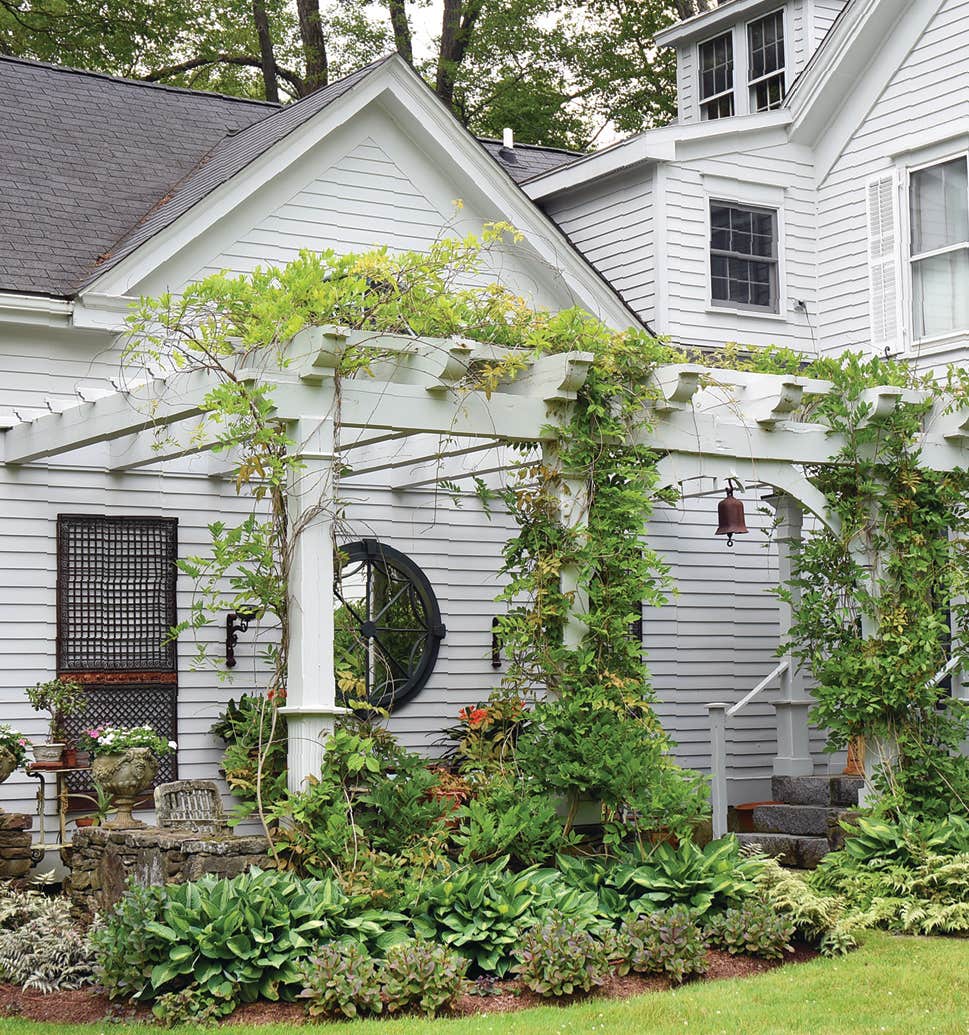
Victorians lavished fancy-cut wood shingles on Queen Anne homes, especially at the gable—just one of many exuberant accents. Architects favored continuous rows of cedar shingles to wrap the walls, towers, and eyebrow windows of their Shingle Style “cottages.” While earlier styles lend precedent for shingle patterns used on Arts & Crafts houses, the overall effect is subtler on a bungalow or Foursquare.
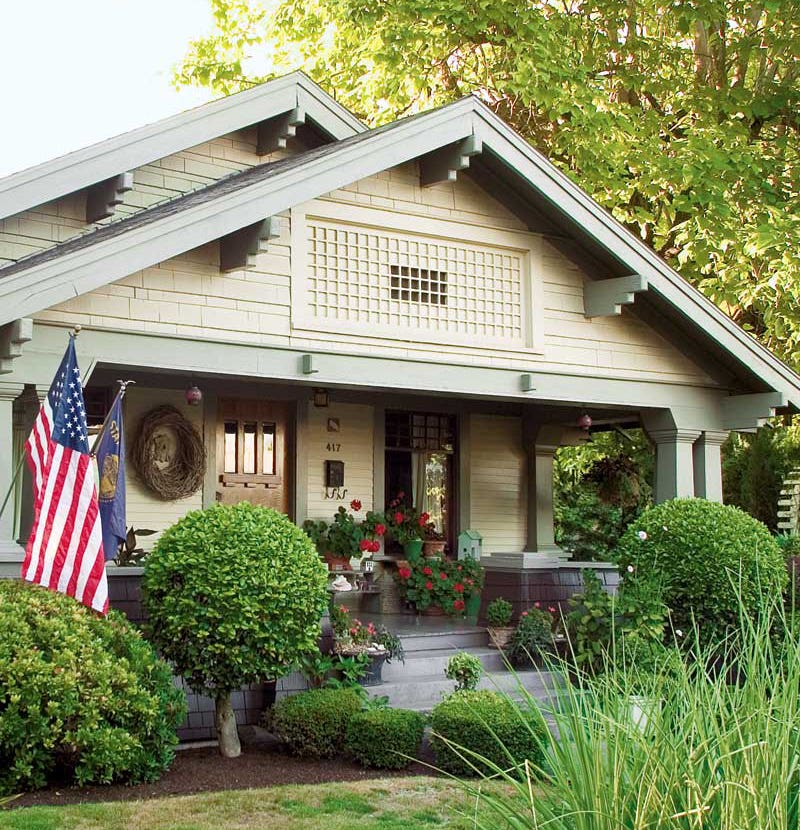
Certainly, the most common use of shingles was the straightforward laying of evenly butted rows of tightly spaced shingles marching across the façade. Sometimes simple works best, especially when paired with architectural elements that tend to stand out, like massive porch piers and airplane-hangar trusses. In other cases, the modest bungalow or the grand architectural statement gets a slightly different look through minor variations in how the shingles are cut, laid, or both.
Like clapboards, shingles are tapered, cut to be thinner at the top and thicker towards the bottom (butt). Again like clapboards, they are installed in overlapping rows, exposing several inches of the course below with each succeeding row of shingles. Since there are gaps (called keyways) between each shingle, it’s important to stagger the next row. That way, the overlapping shingles fall so that all the exposed keyways in the course below are completely covered.
Like clapboards, courses of shingles throw horizontal shadow lines. As an added textural feature, the keyways create a vertical element in the overall composition of a shingled exposure. That’s the reason shingled facades seem to have a rhythmic quality, even when the shingles are installed as simply as possible.
Varying that rhythm while maintaining the purpose of the shingles—that is, to shed water and protect the house—is easier than you might think. Simply varying the exposure of the butt ends or the width of the keyway can lead to a dramatically different appearance overall. Here are the popular historic variations on Arts & Crafts houses:
DOUBLE COURSING In this method, each course is two shingles thick—in effect, doubled up—to create a deeper shadow line. It is especially dramatic when used with fancy cut shingles.
RIBBON COURSING In this technique, the exposed depth of shingle rows varies between courses to create a series of alternating wide or narrow bands. Depending on preference, the narrow bands can be very tight and the wide bands broad, or anywhere in between. Ribbon coursing was also used with clapboards, as on the Gould house, a 1924 design by “Ultimate Bungalow” architects Henry and Charles Greene.
STAGGERED BUTT COURSING In its most subtle form, the butt exposures are staggered slightly (up to an inch) with each shingle. Shingles can also be laid in an “up and down” pattern that resemble picturesque slate. Although each course follows a general line, there’s not a straight horizontal in sight.
KEYWAY VARIATIONS Simply eliminating or enlarging the gap between shingles alters the look of the house as well. A pattern variation popularized by the Greene brothers was to create a keyway gap of about ½" between even-butted shingles. The effect is quite different from butting the shingles closely together. Another technique, especially in shallow gables, is to create an inverted ziggurat effect by laying staggered rows of shingles with wide keyways.
LONG EXPOSURE Another Greene & Greene technique was the use of oversized shingles with exposures much longer than the typical 3" to 7" used in most shingle sidewalls. Although they’re visually long, the shingles are in perfect proportion for the scale of a massive yet graceful structure like the Gamble House.
Better Shingles
Today’s best siding shingles are cedar, preferably vertical grain, a cut that produces a tapered shingle that’s tight-grained and long-lived. Although you can still get traditionally cut shingles, most of today’s products are precision-cut by machine, squared to install uniformly, and designed with ridges on the backs to aid ventilation for moisture control.
Manufacturers have reduced labor costs for us as well, selling the material in ready-to-install panels up to 8' long, eliminating the need to nail up shingles one at a time. They’re idiot-proof, too: some come with marks on the rows to help the installer line them up perfectly with the desired overlap.
Best of all, many historically desirable patterns are now available as paneling systems from many manufacturers. Beyond the size of the shingle (most top out at 16" long), you can specify even or staggered butt exposures, with or without open keyways, and different overlap lengths. Like flooring, it’s even possible to specify a mix of grains or colors.
Mary Ellen Polson is a creative content editor and technical writer with over 20 years experience producing heavily illustrated know how and service journalism articles, full-length books, product copy, tips, Q&As, etc., on home renovation, design, and outdoor spaces.